
Popsicles are a staple summer treat, but have you ever looked at the ingredients list? Not so yummy. As a momma who doesn’t want my child missing out on the joys of summer treats, but also wants to keep her as ‘artificial’ free as possible, it can be a challenge. A friend of mine just told me the other day, that all my cooking/homemade striving isn’t the norm, I am not in the majority. The truth is, I understand making these switches can be daunting. There are days I feel I haven’t even had a moment to breath, and the last thing I want to do is start ‘home-making’ anything. But I find the trick is to find things that make it easier to be homemade. I want to shift to more and more gluten free, so I found gluten-free all purpose flour mixes that I can mix up in a few minutes in bulk and just keep on hand to use a cup at a time. I like almond milk, keep it on hand and use it as a simple substitute for dairy milk. It all comes down to finding the simple things that make the more daunting tasks a little easier.
This long weekend I decided we would have popsicles. I perused Pinterest and Google and got some ideas. On our trip to Dutchie’s (probably my favourite local produce store), they were handing out samples of fresh local cherries, YUM. So we grabbed some cherries and a container of local natural yogurt and we were good to go!
Creamy Cherry Popsicles
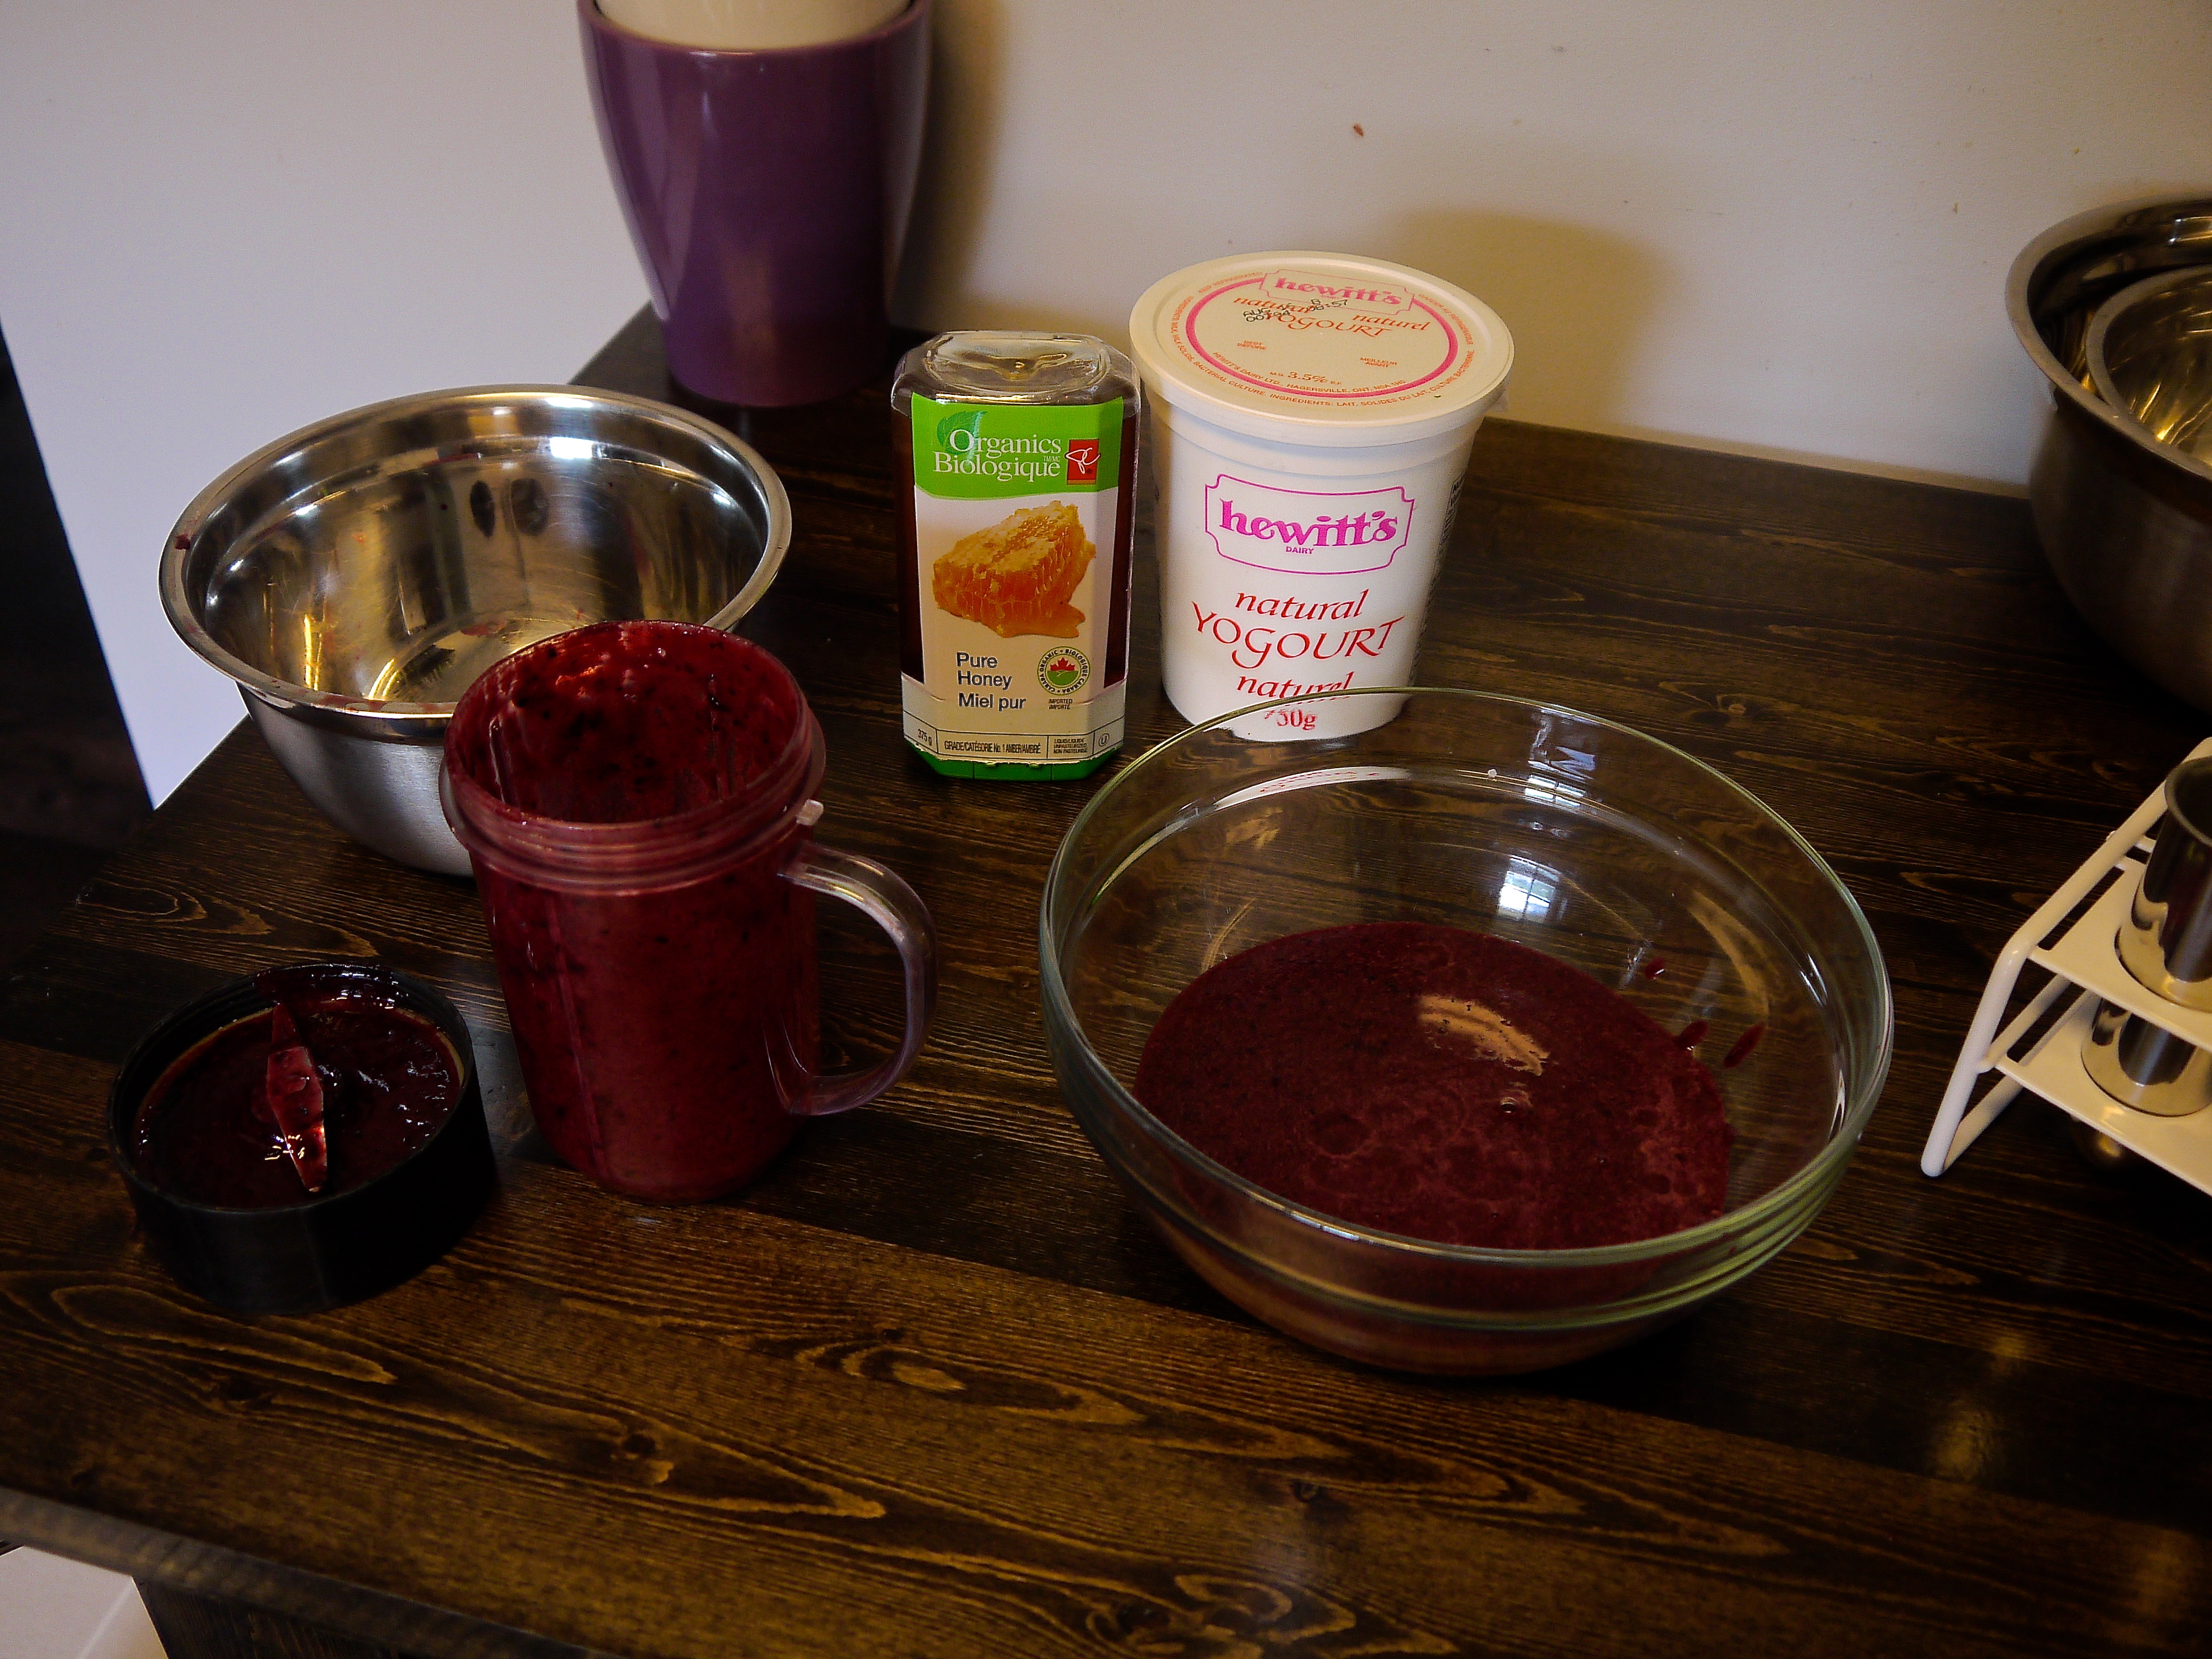
All the ingredients you’ll need:
Fresh Cherries (frozen will work as well)
Yogourt (Dairy if you aren’t sensitive but coconut or almond yogourt will work as well, or coconut milk)
Honey (optional)
 The most time consuming part of this recipe was pitting the cherries, if you use frozen, that step is avoided. (I didn’t measure anything for this recipe just mixed, but it was a full magic bullet mug of unblended cherries so probably about 2 cups).
 Give the cherries a quick spin in a blender or food processor (my magic bullet is my bff).
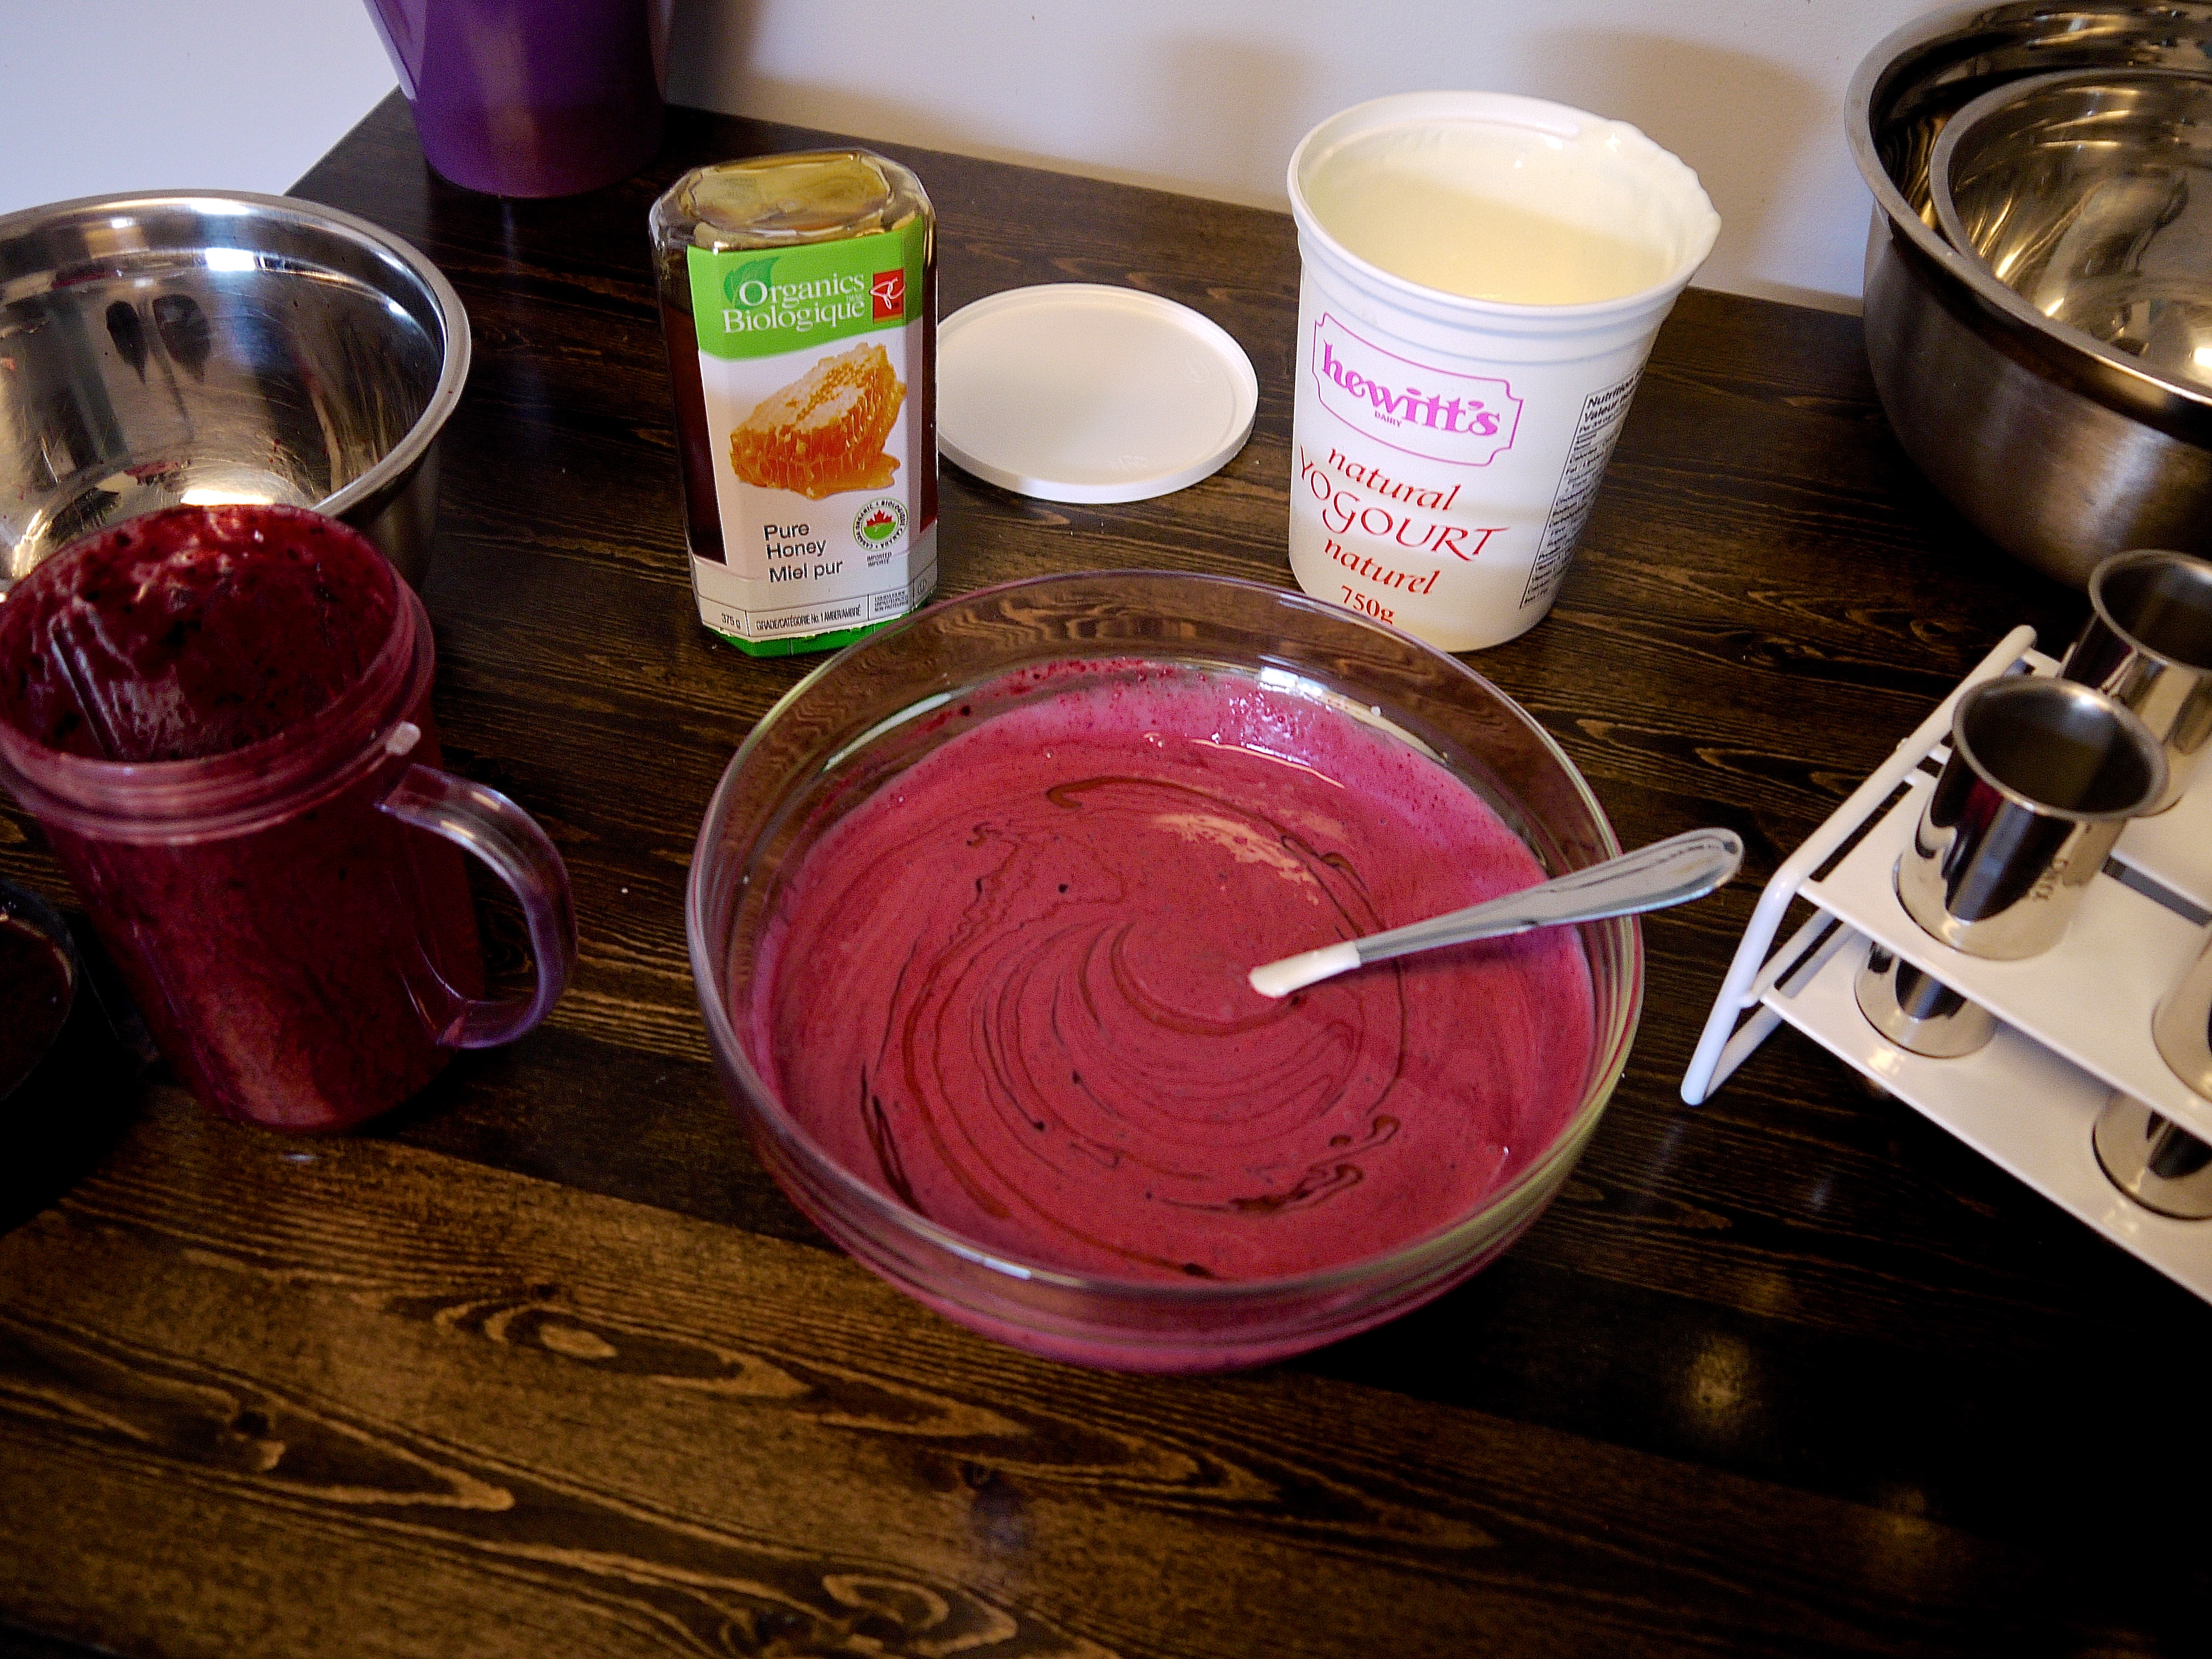 Mix in your yogourt or coconut milk (again, I didn’t measure, just added but it was probably about a cup or so) and honey to taste (about a tbsp or so).
 Fill your popsicle moulds (second most time consuming step since I was trying to not make a mess for photo sake, lol!)
 Freeze for about 5 hours minimum. A quick note about the popsicle moulds: plastic popsicle moulds are everywhere and super inexpensive, I opted to go with a stainless steel mould by Onyx (I got it at Fenigo for anyone in the KW area). I decided to go with stainless steel because with the thawing and freezing of plastics, they will leach endocrine disrupting chemicals (like any plastic storage) and have some pretty scary health effects. You can read more about why we are a ‘plastic-free’ house here. Plus, they will last forever and since I will forever be a popsicle making momma, it was worth the investment!
The entire process did not take long at all, pitting the cherries probably took about 10 minutes max (again if you use frozen or already pitted, this step is skipped) and blending and mixing all the ingredients took less than 5 minutes. And the best part, the popsicles were VERY toddler approved!

Disclaimer: Naturopathic Doctors strive to provide individualized health care. The information contained in these topics is not intended nor implied to be a substitute for professional medical advice, it is provided for educational purposes only. This information shouldn’t take the place of seeing an ND for individualized health recommendations.
